By: Dr. Data’s Wiz Chips
Table of Contents
1.How to Install Multimedia Fusion
5.Credits
-How to
Install Multimedia Fusion-
There are 2 ways to install Multimedia Fusion. One is without pictures and one is with. To install with the picture libraries, you should press the custom button and select ok 2 times. To install without pictures, you should select typical.

-Bouncing Ball Movement-
Movement is one of the simpler aspects of Multimedia Fusion. It is done by going to the Movement option under Preferences after you right click on the object that you want to move. Lets start by making a Fighter 3, under Games, Other, Misc. on libraries. Drag it into the Frame Editor.
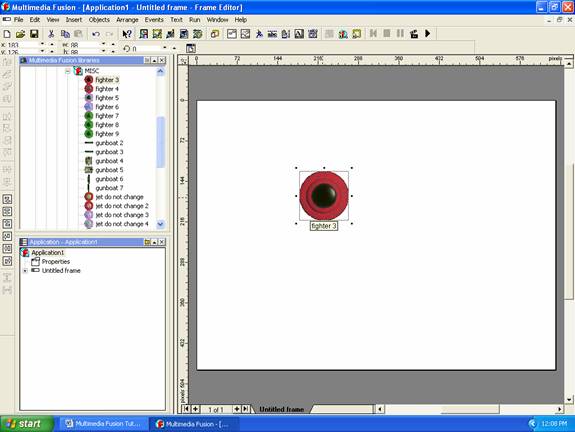
Multimedia Fusion
with Fighter3 in the Frame Editor
After that, go to properties, new movement after right clicking on the object. Then you need to go to bouncing ball.
-Bouncing Ball Movement Cont’d-
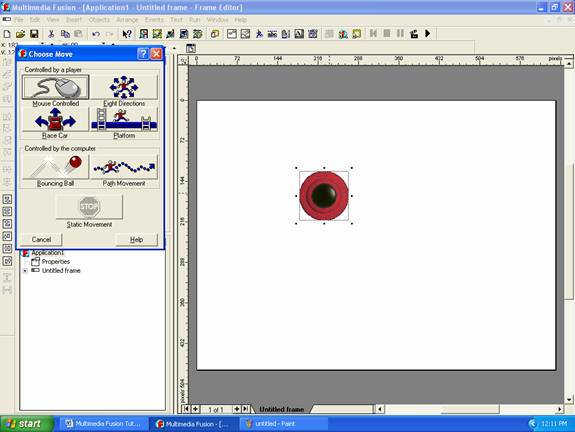
The Movement
Editor
After you go to Bouncing Ball, you should just select ok. After you select ok, you should try the current level by pressing F7. As you can see, it will just go off of the sides. When this happens, you need to go to the Event Editor.
-Bouncing Ball Movement Cont’d-
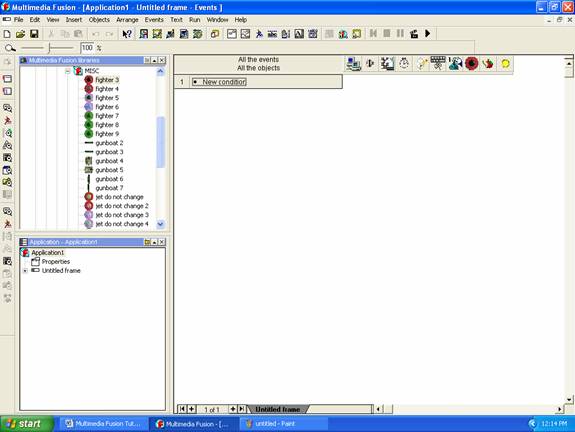
Event Editor
When you go to the event editor, you should select New Condition. When you bring this up, you need to right click on the Fighter3 object. Then you need to go to position, test position of fighter3. You should select all of the arrows inside of the box pointing out.
-Bouncing Ball Movement Cont’d-
It should look like this.
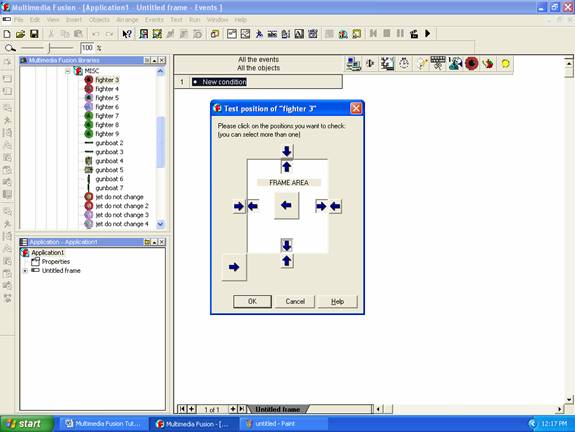
Positions selected
After this is done, you should select OK. Then you need to right click on the square right below the Fighter3 object. You need to go to movement, bounce and then press F7 to bounce.
Let’s start out Path Movement by making a Blue Knight. Then lets go to the movement editor and select Path Movement.
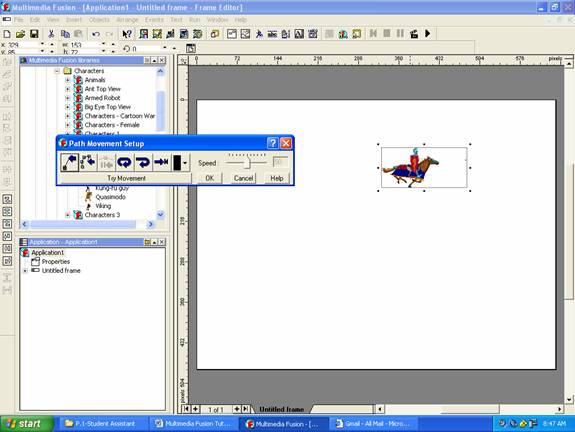
Path Movement
After this, click on Tape Mouse, the 2nd farthest left. After doing this, you should hold the left mouse button down and move it around on the white screen to make a path. When done, click OK. Then try the frame by pressing F7. That is the Path Movement.
Lets start by making a new application. Then let’s go to the Games, Vehicles, Big Buggy and add bigbuggy-2.
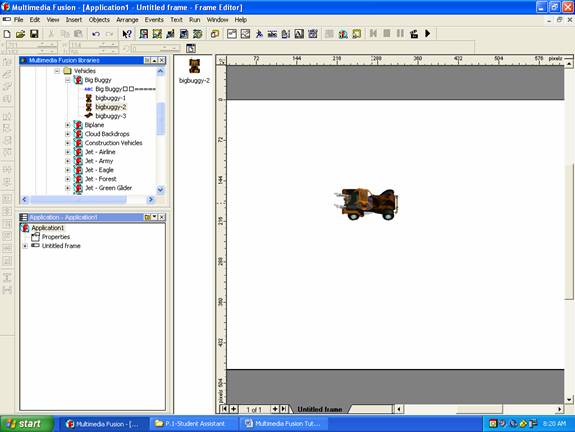
bigbuggy-2 on an
empty frame
Next, go to the movement editor and select racecar movement.
-Racecar Movement:Cont’d-
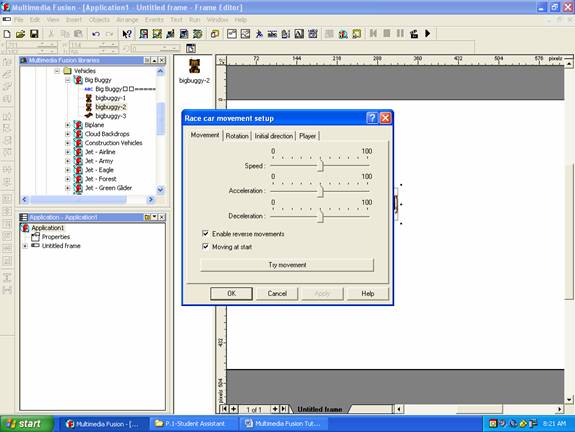
Default Racecar
movement screen
Now we select OK. Then try it by pressing F7. It should drive. You can adjust the speed, acceleration and deceleration on the movement setup screen. It should rotate along with the buttons you press.
Credits
Nathan Ladwig and Chris Eckersley wrote this portion of the manual.